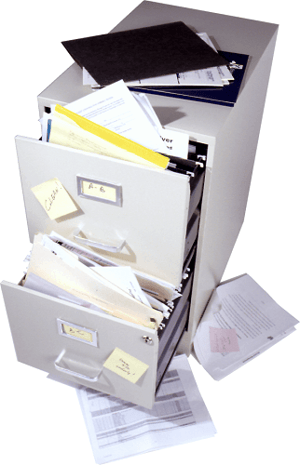
 Take a moment to look around your desk. Is there paper clutter? How about your office? Do you have filing cabinets of documents? Think about when was the last time you opened one of those cabinets to find something. How long did it take you to locate that document? Paper continues to clutter our desks, and filing cabinets continue to steal valuable office space. What can you do to reclaim these things? It might be time to start thinking about document management.
Now I know what you're thinking! You don't want to spend any more money on office technology. I get it. We're talking small steps here, so let's see how this works first.
The first step towards document management in your office can actually be achieved with a tool that is most likely already within your business - the scanner on your multifunction printer. You don't need a full-on document management system (though the benefits of one are numerous!). Just by moving your paper documents to digital format and filing them to a repository (even the cloud!) is a solid first step towards a more efficient and productive office. Here are three steps you can take to move your vision of a paperless office forward.
Step 1: Make a Plan
Let's go back to your desk. Lots of people have a desktop file or bin they use for paper files with which that they are currently working. Do you think you could get rid of those and have them digitally? While you ponder this idea, thing of this - most of us live and die by our email inboxes and sent folders. So why keep other files you use in paper form? Think of all the notes you take at meetings and never look at again; the invoices and receipts that you need to hold onto for expenses. Why not just scan them and utilize them as you need them from your digital file cabinet? They'll still be at your fingertips when you need them, and they won't be scattered across your desk creating clutter. A clean workspace always helps create peace of mind.
Step 2: Prep Your Scans
Take stock of your physical paper documents, and make sure that the final scanned image looks as good as possible. If your document is in bad shape to begin with, it will likely look bad after scanning.
To prep your documents for scanning, remove all staples, paper clips or notes from the pages. Tape any torn pages so they can feed smoothly in the document feeder. It is good practice to put all of the pages in the same direction so you're not scanning a whole document with pages in different directions. While it's tedious to have to organize your pages now, it will be way better than having to electronically keep flipping pages when you're done.
Next you'll want to consider what type of documents you're scanning and what outputs will provide you with the clearest scanned images. Most MFP scanners have a plethora of options to choose from including:
- Original document type (text, photo, text and photo, etc.)
- File type to scan to (PDF, TIFF, JPEG, etc.)
- Resolution (this determines the clarity of a document; 72 dpi is standard resolution for on screen viewing - if you want to print a document, 300 dpi is best.)
- Color vs. black/white - just as when making copies, you can scan your pages in color or black and white.
- Destination - when you scan a document, you will need to assign it a destination. This may be to a network drive, to your email or some other repository. If you're unsure as to where to scan to, you can contact your IT department to ensure it will be somewhere safe that you can retrieve it.
Step 3: Tagging
When you file papers in the filing cabinet, you use folders with labels to organize your papers. Think of your tags as the folders. The tags are your way of indexing your files so that you can find items quickly and easily. There are two methods you can use in tagging files:
- Keyword indexing - you tag in the most relevant items that will help you to retrieve your documents later. If you plan to share your files with others in your company, establish a consistent way of generating tags and have everyone tag using the same method. This will make finding documents much easier for everyone involved.
- Full-text indexing - with this method, every character of all of the words on the page is recorded with the use of optical character recognition (OCR) software and made available to search on later. This method does not limit the words you can search on, making it easier to locate documents.
With these simple steps, you can be on your way to less paper and an easier method of logging documents. You'll be set up to retrieve files with ease instead of rifling through drawers of papers, saving you time and ultimately money. And at the end of the day, who doesn't want more time and money?
